Resizing and optimising images before uploading to WordPress is a necessary step and will help to improve your website’s speed and performance. Here are some simple steps to follow:
1. Choose the right size
The size of your images should match the dimensions of the space where you want to display them on your website. For example, a full width hero image should be 1920px in width.
Professional photographers will issue files at 300dpi – this is necessary for printing but you only need to have a maximum of 72dpi for web images.
You can use an image editing tool like Photoshop or your computers preview too to resize your images to the appropriate size.
When scaling images, I always resize the width first, then using the crop area tool, I adjust to the most appropriate height needed.
Blog featured images and images inside posts can be 1200px wide.
If you have an ecommerce site, I recommend about 800 x 800px for product images.
2. Compress your images
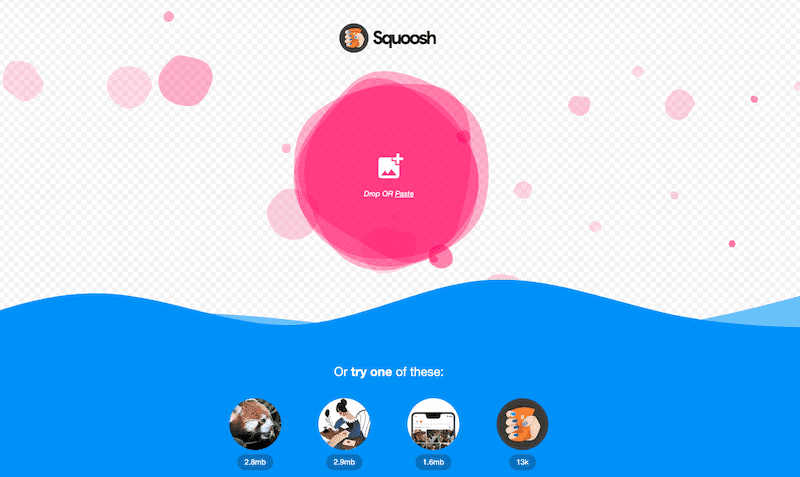
Large image files can slow down your website’s loading time. Use an image compression tool like TinyPNG or Squoosh to reduce the file size of your images without sacrificing quality.
The video below shows how to resize a large stock image and compress using a free Mac tool, ImagOptim. The tool allows you grab entire folders and compress quickly.
3. Choose the right file format
JPEG is the most common file format for photographs, while PNG is best for graphics with transparent backgrounds. Use the appropriate file format for your images to ensure the best quality and smallest file size.
4. Rename your images
Use descriptive, keyword-rich file names for your images. This can help with SEO and make it easier for users to find your images in search results.
5. Add alt text
Alt text is a short description of your image that helps search engines and visually impaired users understand what the image is about. Make sure to add alt text to all of your images.
By following these steps, you can resize and optimise your images for WordPress to improve your website’s performance and user experience.